
Proxmox and unRaid are both widely used operating systems in Homelab as home server operating systems. Even though both are similar and have basically similar capabilities, there are good reasons to use both: Proxmox as a hypervisor and unRaid as a virtual machine, i.e. as a guest under Proxmox.

Why should I install unRaid as a VM and not directly?
Unlike Proxmox, unRAID is booted from a USB stick. Even if the data is usually only loaded once from this USB stick into the RAM disk, a USB stick cannot withstand as many write operations as an SSD. High availability or redundancy is also not possible.
Unfortunately, my unRaid server has often gone offline because the USB stick was completely broken or was suddenly in “read-only” mode. That’s why Proxmox is now running on my server: redundant boot disks with a ZFS-RAID-1 and the same for the VM storage. To prevent the entire infrastructure from going down if the USB stick gives up, you can install unRaid as a VM under Proxmox.
Install unRaid as VM in Proxmox
First of all, we need a running Proxmox installation, a USB stick and a free USB port on our home server. Because unRaid uses the UUID of the USB stick for the licensing procedure, we cannot use a vDisk for this. So we install unRAID on the USB stick and plug it into a free USB port.
Step 1: Install unRaid
We can use the unRAID USB Creator to install unRAID on the USB stick.
Step 2: Create VM
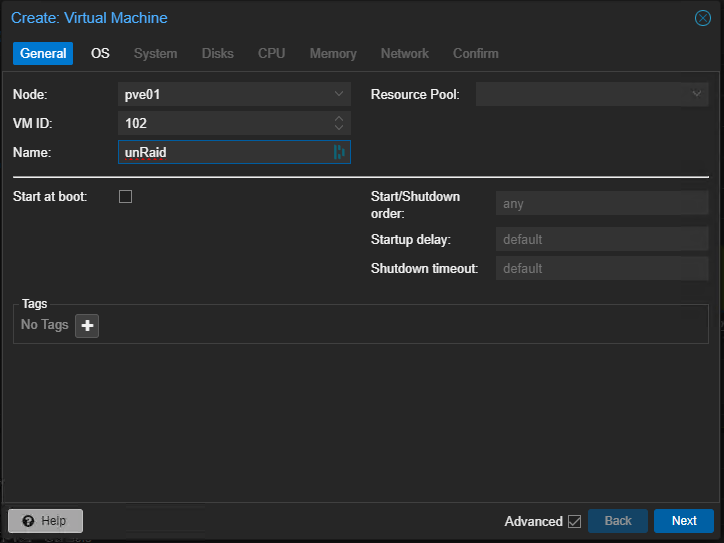
Once we have logged into the Proxmox web interface, we press the “Create VM” button at the top right and give it a name. In my case, “unRaid”, but the name can be chosen at will.
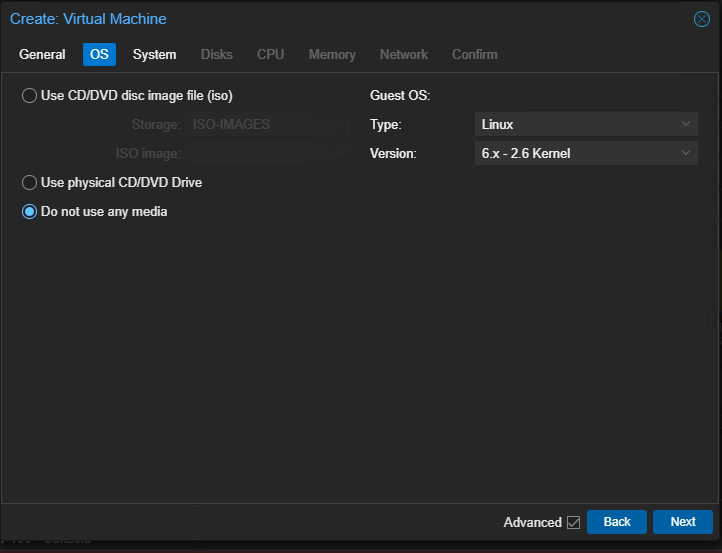
Under “OS” we select “Do not use any Media”. Under System, we can leave everything at the default settings.
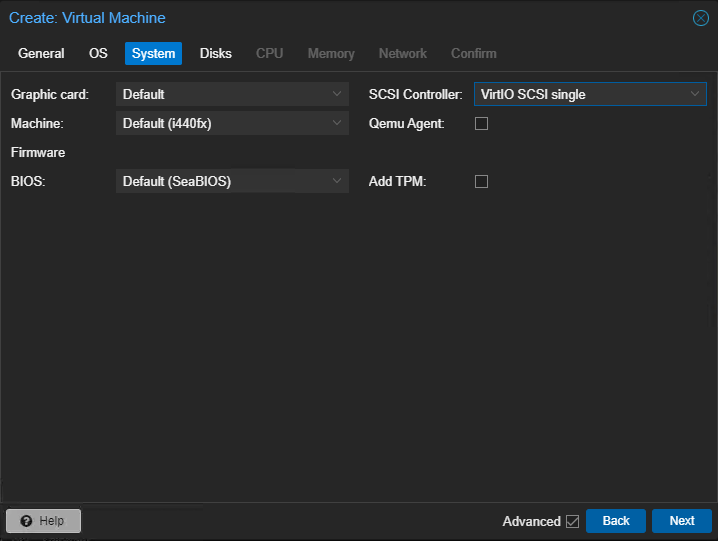
With “System”, we can leave everything as it is.
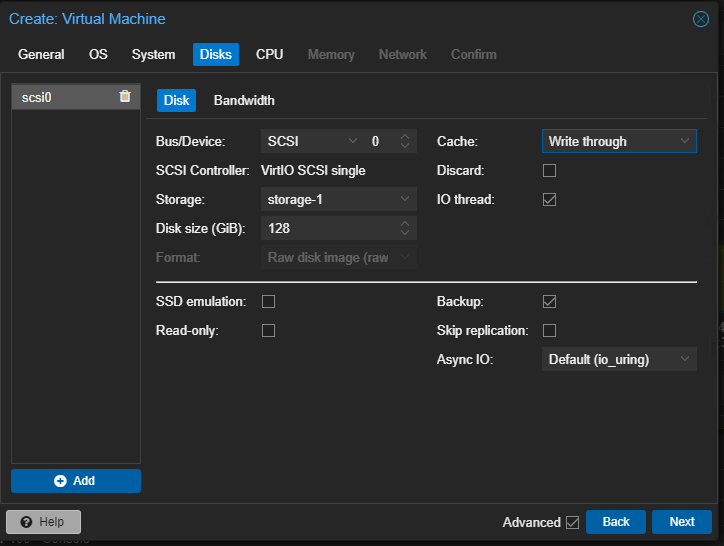
Under “Disks” we can create a disk that will then serve as a cache under unRAID, but we can also pass through an entire SSD.
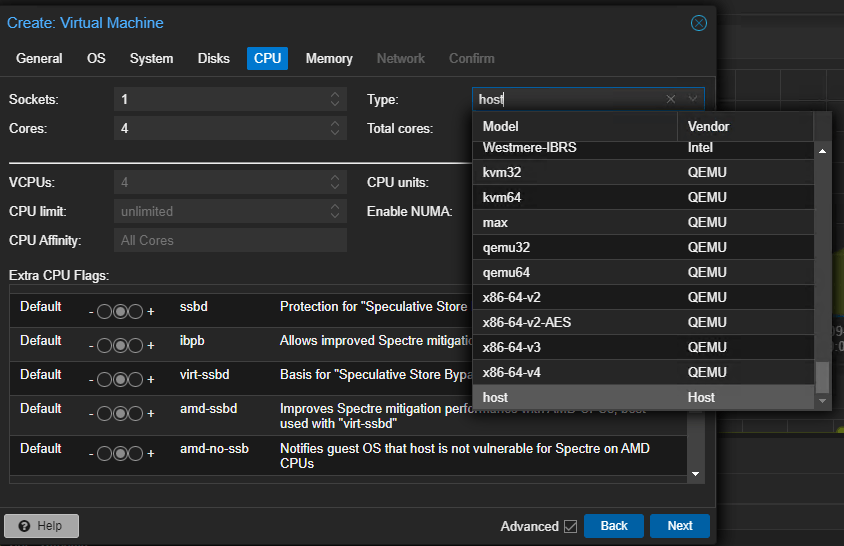
Under “CPU”, we must set the “Type” to “Host” via the drop-down menu. Of course, the number of CPU cores can still be adjusted here.
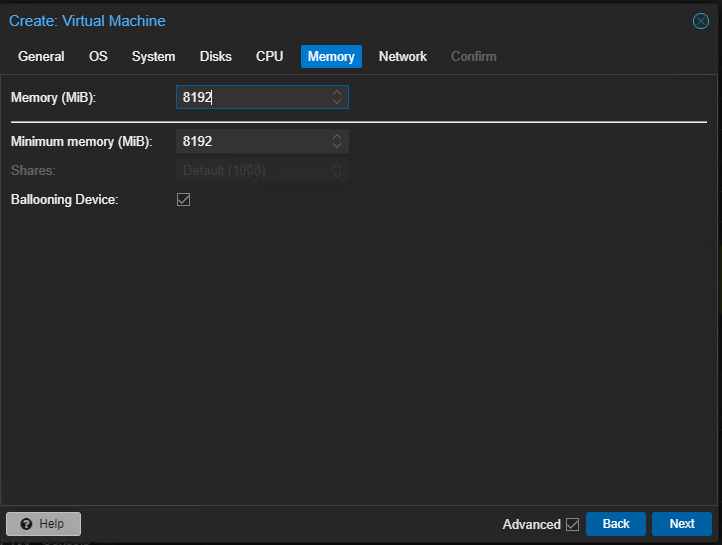
Under “Memory” we specify how much RAM our unRaid is allowed to use. Since I want to use a few Docker containers, I give the VM 8GB RAM.
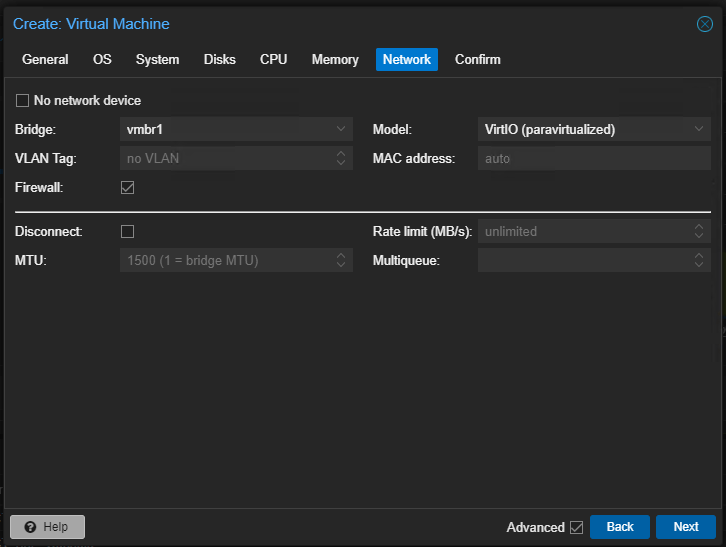
Under “Network” we select the appropriate network bridge; the remaining settings can be left as they are.
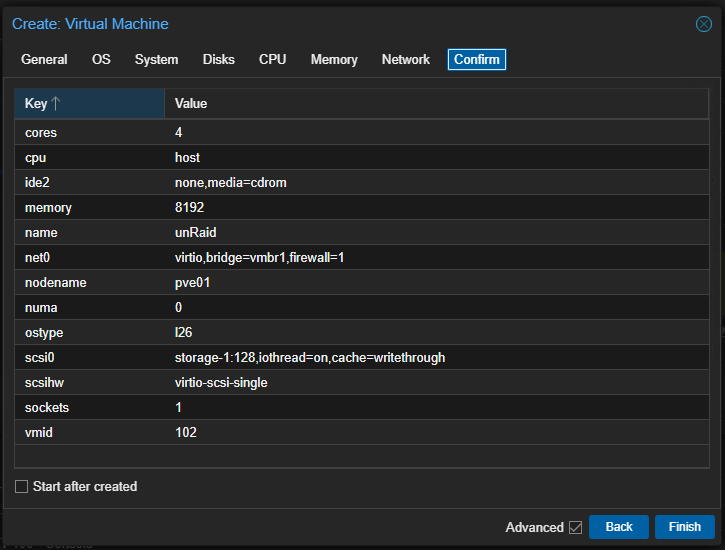
Under “Confirm” you can see an overview of all the options again. Important: do not select the Autostart button. We need to customize the VM before starting it.
Step 2: Customize unRAID VM
Now we need to customize our unRAID VM: we need to make the boot stick and, optionally, HDDs available for unRAID. To do this, we select “ADD” -> “Hard Disk” under Hardware and select the appropriate hard disks. I personally won’t be using unRaid as data storage; that’s what my Synology RS1221+ is for.
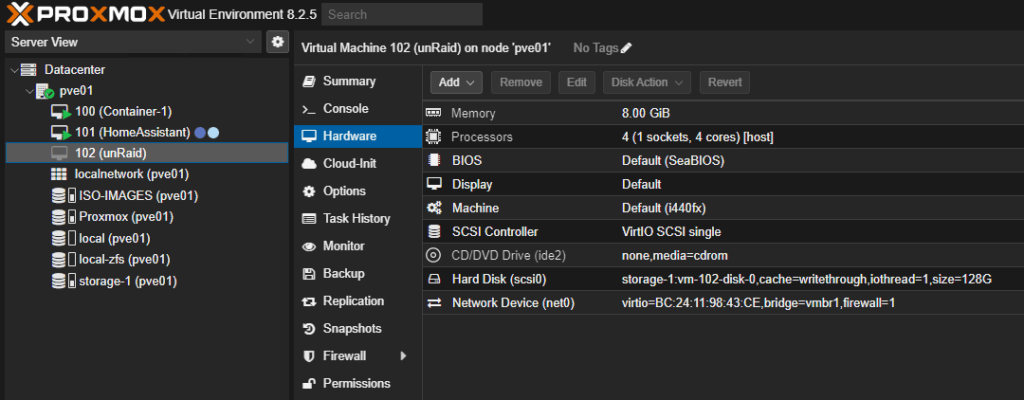
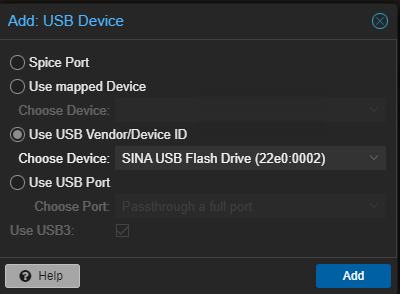
The last step is to add our USB stick with unRaid to the virtual machine. To do this, we select “Add” -> “USB-Device” -> “Use USB Vendor/Device ID” and select our USB stick.
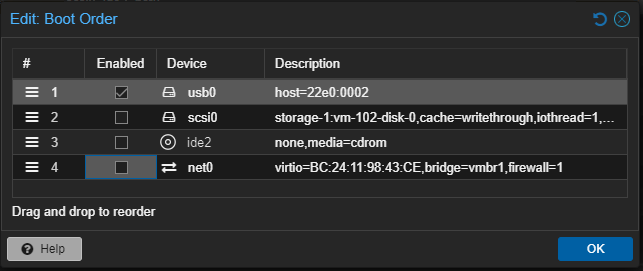
The last step before we can start our unRAID VM as a Proxmox guest is to adjust the boot order. To do this, we select “Options” -> “Boot Order” -> “Edit” in the sidebar menu of the unRAID VM. There we activate the USB stick “Device: usb0” and move it to the top using the three horizontal lines. Confirm with “OK”.
Step 3: Start VM
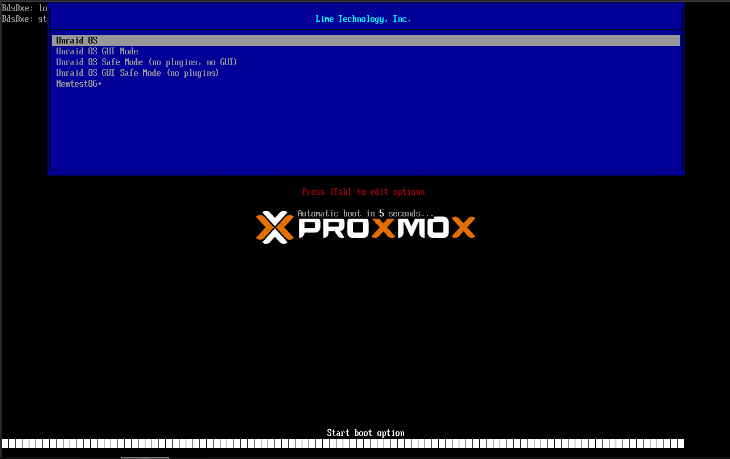
We can start the VM by clicking on “Start Guest”. Then unRAID boots as a virtual machine under Proxmox as hypervisor.
Yes, Docker can be used as normal.