
In this guide, I’ll show you how to install Paperless-NGX as an add-on in Home Assistant. Paperless-NGX is a powerful document management system that lets you digitize, store and search your documents. Thanks to the integration in Home Assistant, you can manage and automate documents conveniently. Paperless-NGX appears as a menu item, and with the Ingress integration it can be accessed directly from the Home Assistant WebUI.
Prerequisites
- A running Home Assistant (ideally in a Docker or Home Assistant OS setup)
- Access to the Home Assistant interface
- Some basic knowledge of working with add-ons and Docker
Step 1: Accessing the add-on store
- Open Home Assistant in your web browser and log in.
- Go to “Settings” in the left sidebar.
- Select “Add-ons, backups & supervisor” there.
- Click “Add-on store” to open the store for additional packages.
Step 2: Installing a community repository
Paperless-NGX is not included in the official add-on store by default. You therefore need to add a community repository.
- Scroll down in the add-on store and click the three dots at the top right.
- Select “Add repository”.
- Enter the following URL in the field and confirm:
https://github.com/BenoitAnastay/home-assistant-addons-repository/
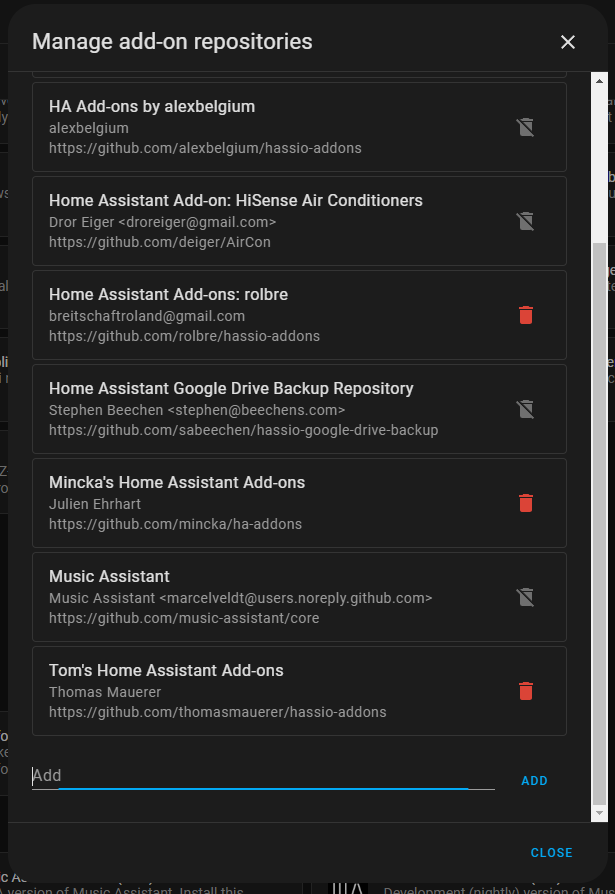
This gives you access to various community add-ons:

Step 3: Installing Paperless-NGX
- After you have added the repository, search for “Paperless-NGX” in the add-on store.
- Click the add-on and then “Install”.
- Wait until the installation process is complete. This may take a few minutes.
Step 4: Configuring the storage
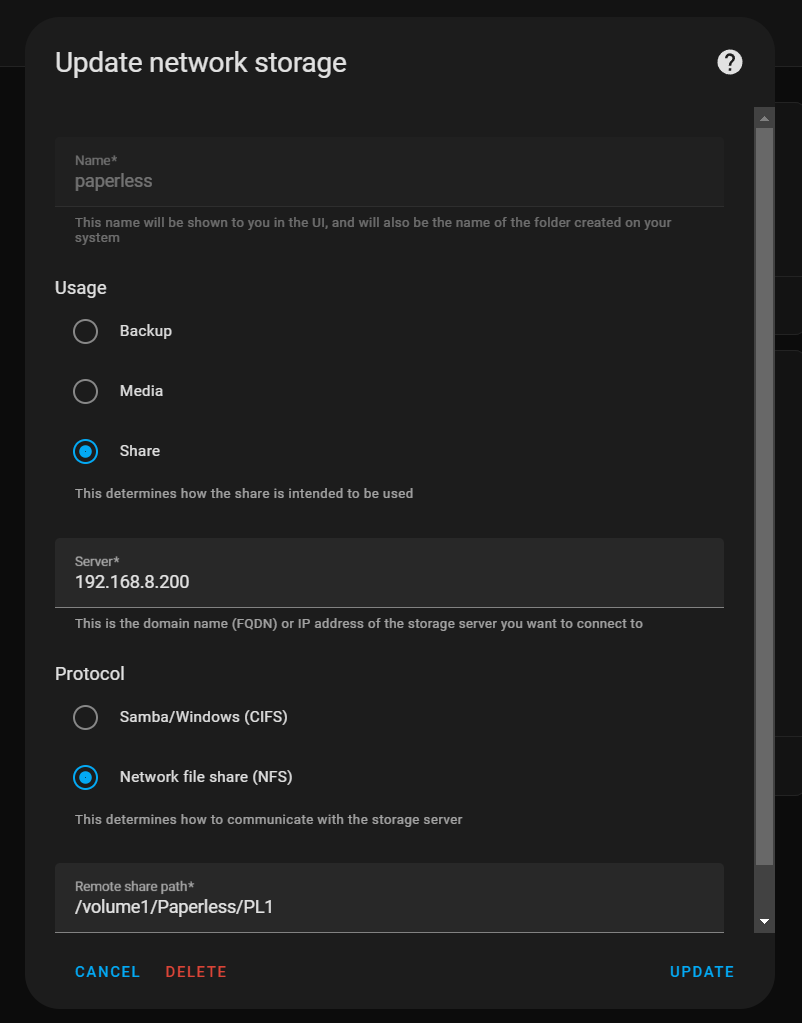
If you don’t want to save your documents on the Home Assistant server itself but rather on your NAS, you need to create a share for this. To do so, go to “Settings” → “Storage” → “Add network storage”.
The name must be the lower-case “paperless” and the type (Usage) must be “Share”. The other details must be adapted to your individual circumstances.
This storage path is stored hardcoded in the add-on and cannot be changed.
Step 5: Configuring the add-on
After installation, you need to configure Paperless-NGX:
- Click “Settings” in the Paperless-NGX add-on.
- Here you can set various parameters, for example:
- TZ: Your time zone, e.g. Europe/Berlin.
- PAPERLESS_OCR_LANGUAGE: If you want to use the OCR function, enter the language, e.g. deu for German.
- Default Superuser: Enter the data for the admin user here.
- Consume Directory Polling Interval: Sets the interval at which Paperless scans the Consume folder for new files. Required for network drives.
- Barcode consuming: Activates the processing of barcodes.
- ASN Barcodes: Activates ASN barcodes.
- Recursive consuming: If “Active”, folders inside the “Consume” folder are also searched for documents.
- Enable Ingress authentication: If this field is enabled, you are logged in automatically when the Home Assistant and Paperless usernames match.
- Change the ports on your host that are exposed by the add-on: Here you can specify a port through which Paperless-NGX can be reached directly. This is only required if the API needs to be accessed via the Paperless app.
- Save the configuration and close the settings window.
Step 6: Starting the add-on
- Go back to the Paperless-NGX page in the add-on store.
- Click “Start” to activate the add-on.
- Wait until the add-on has started. You can monitor the status in the log window.
Step 7: Accessing Paperless-NGX
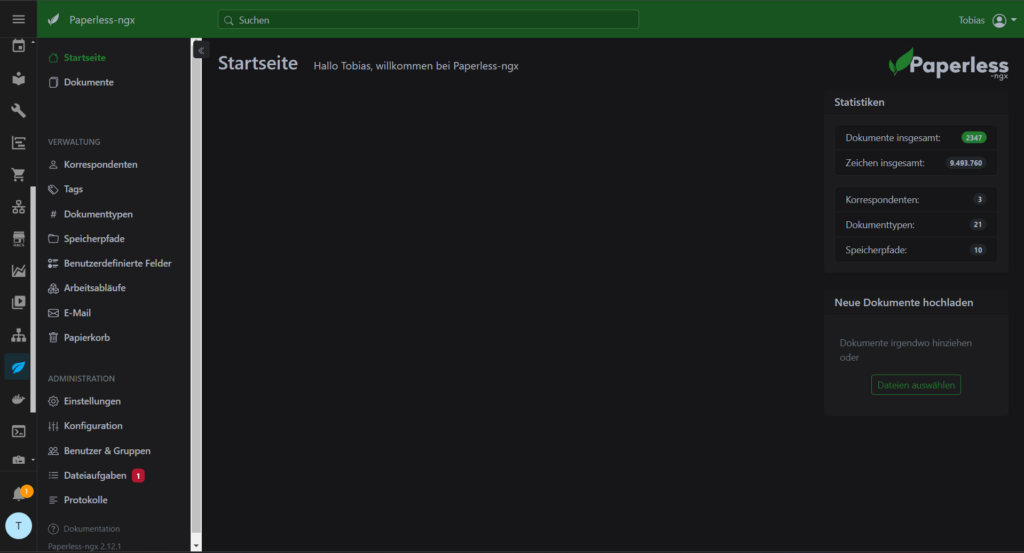
Once the add-on is running, you can access the Paperless-NGX web interface:
- Click the “Open Web UI” button on the add-on page.
- Log in with the standard login data. You entered the initial access data during setup.
Step 8: Document management and automation
You can now start uploading and managing your documents. Optionally, you can also set up Home Assistant automations to automatically process certain documents in Paperless-NGX.
FAQ
Paperless-NGX is an open source document management system that helps you digitize, organize and make paper documents searchable. It lets you scan documents, automatically capture content using OCR (Optical Character Recognition) and categorize them using tags or metadata. Paperless-NGX is ideal for running a paperless office, as it efficiently manages documents and simplifies retrieval with a powerful search function.
OCR (Optical Character Recognition) is a technology that allows printed or handwritten text in digital images, such as scanned documents or photos, to be recognized and converted into machine-readable text. OCR is often used to digitize documents so that the text can be searched, edited or further processed. In systems such as Paperless-NGX, OCR helps to automatically capture scanned documents and make them searchable.
The Ingress feature in Home Assistant lets you access add-ons directly from the Home Assistant interface, without separate logins or additional network configurations. This means you can access the user interfaces of add-ons like Paperless-NGX without having to enter a separate URL or share ports. Everything is handled securely through the Home Assistant web interface, making add-on management easier and more user-friendly.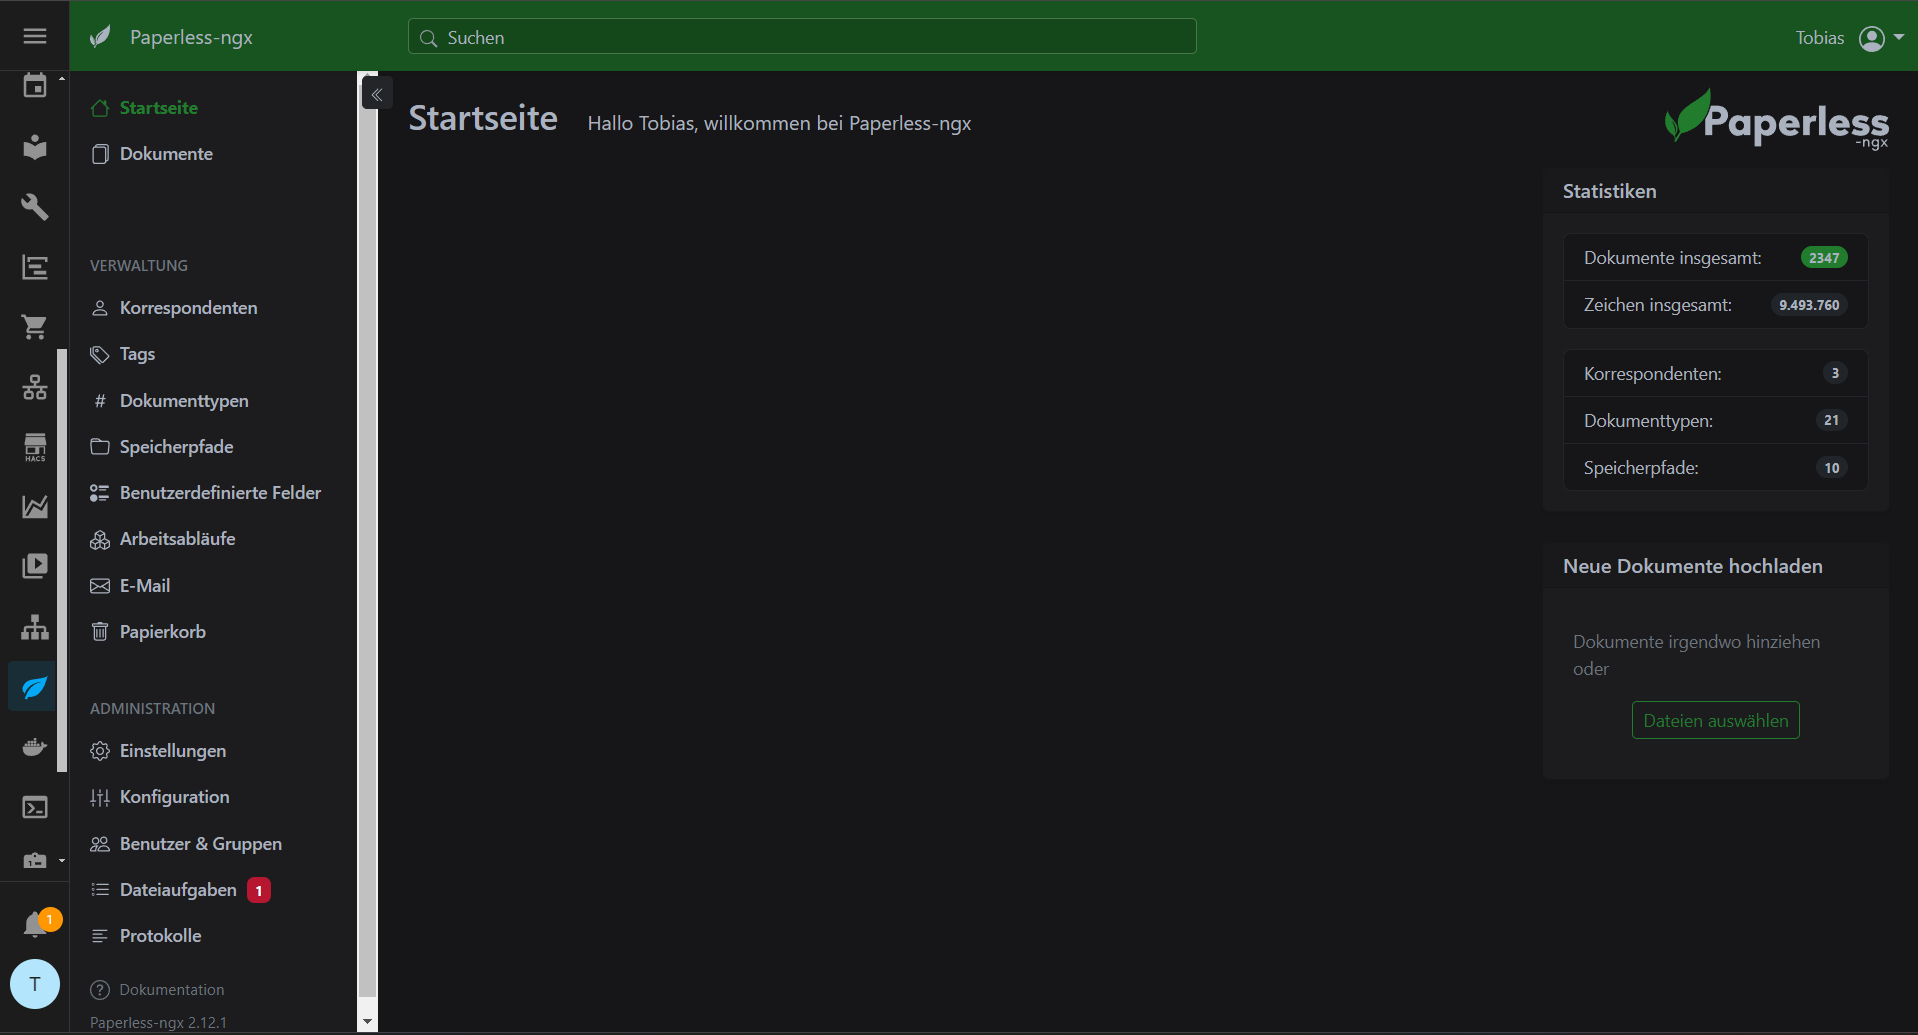
Paperless-NGX can use barcodes to automatically organize and categorize documents. Barcodes on documents contain specific information that is recognized by Paperless-NGX to automatically sort the documents into the correct categories or folders. This is particularly useful for processing large volumes of documents quickly and efficiently, as the barcode replaces the manual entry of metadata or tags.
ASN (Advanced Shipment Notice) barcodes in Paperless-NGX are special barcodes that are often used in logistics to encode delivery information such as order numbers, delivery dates or product details. In Paperless-NGX, such barcodes can be automatically recognized and used to efficiently capture and organize documents such as delivery bills or invoices and provide them with the appropriate metadata. This makes it easier to manage delivery documents and assign them to specific orders or processes.
Home Assistant add-ons are extensions that add additional functions and services to Home Assistant. They run in isolated containers and can perform various tasks, such as:
Integration of third-party services: They enable the connection of external applications or platforms.
Extended functions: Add-ons can offer special functions such as backup, media management or document management.
User interfaces: Many add-ons offer their own web interfaces for managing or displaying information.
Add-ons are easy to install, configure and manage via the Home Assistant add-on store, which significantly extends the functionality of Home Assistant.