
Duck DNS is a Dynamic DNS service. This is needed if you host services like Nextcloud at home on a server and do not have a static IP. With a normal Internet connection, the IP address usually changes regularly. With DuckDNS, the correct IP address is automatically stored, even if it changes. The best thing about it: the service is free of charge. It is financed by donations.
Create account
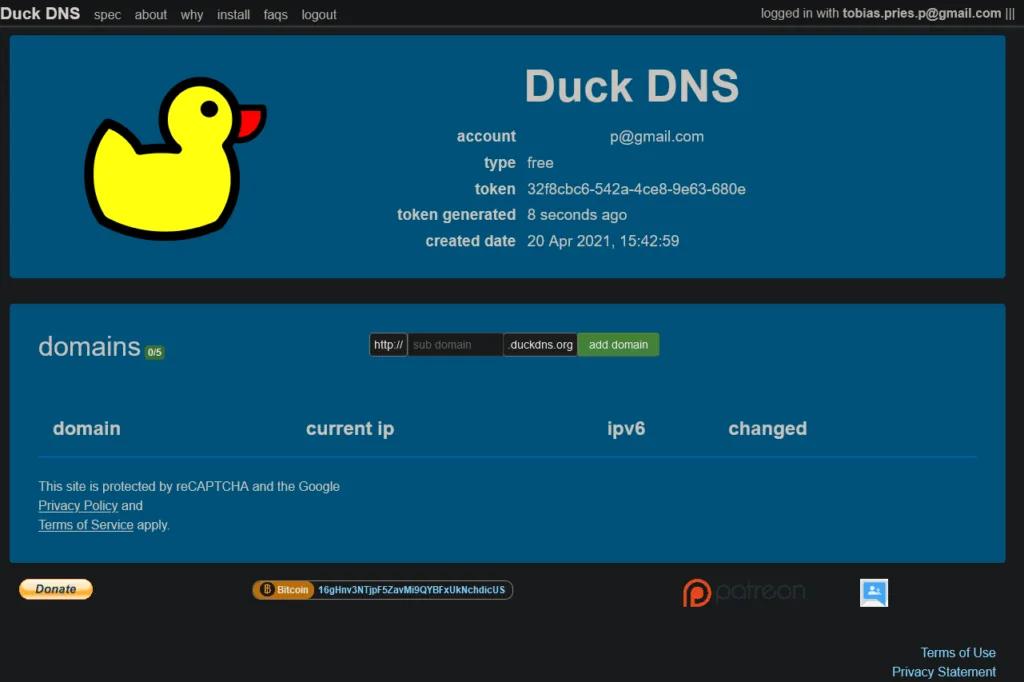
First of all, you need to create an account on duckdns.org. There are several ways to log in to the site (GitHub, Twitter, Google, etc.). Once you are logged in you will see the following window:
Create subdomains
Now you can create up to 5 desired subdomains – of course, only subdomains that no other user has created before. For this tutorial I choose “Unraidtips.duckdns.org”.
Install DuckDNS on an Unraid Server
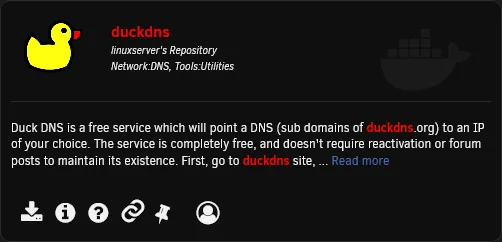
Now we need the DuckDNS Docker container. You can find it in the “Apps” tab of the Community Applications plugin. You don’t have an “Apps” tab? Then install the Community Applications plugin first. It is best to use the container from “Linuxserver.io”.
In the configuration of the container, you now enter all subdomains you have created before, separated by a comma. The second thing you need is your token, which was shown to you when you created the subdomains.
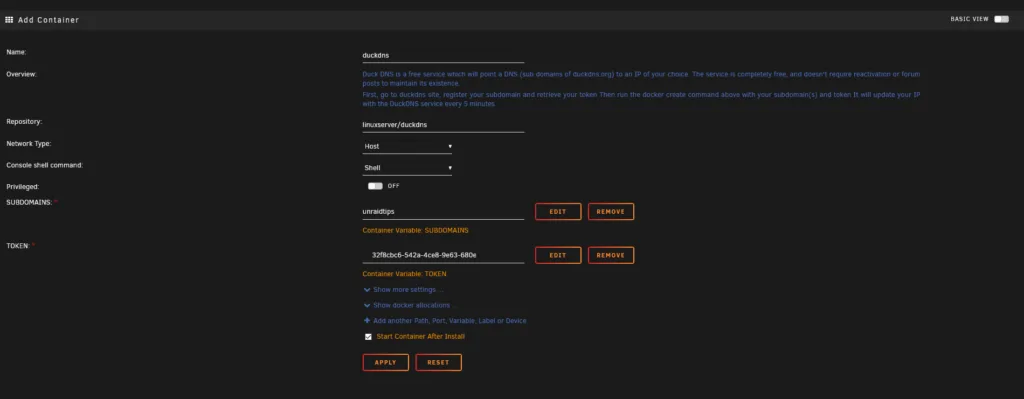
Now you just have to click Apply, and Duck DNS is installed. Your IP is automatically updated and linked to the created subdomains.