WD My Cloud Home network storage often offers a lot of capacity at a low price. In many deals the price per terabyte drops below that of a bare HDD you would buy without an enclosure.
This guide walks you through installing an alternative “operating system” on your Western Digital My Cloud Home. In this case, Debian and OpenMediaVault.
Why would I want to replace Western Digital’s software anyway?
Access to the storage is only possible with an active internet connection and only through the official apps. There is no way to establish a local connection over common network protocols such as SMB or FTP. SSH can no longer be enabled either, unlike the predecessor without “Home”.
Does this void my warranty and can I break something?
Yes, these instructions are an unofficial solution and you lose the manufacturer warranty. A backup of any existing data is mandatory: after Debian is installed, that data is no longer readable.
It appears that newer WD My Cloud Home units ship with a firmware version that disables booting from USB. The suspected version is 7.16.0.-220.
What is required?
- One WD My Cloud Home
- A USB stick (at least 8 GB) formatted as FAT32
You also need the prepared image: the “WD MyCloud Home Debian + OpenMediaVault” package, a single ZIP archive of roughly 561 MB. Unzip it and copy the contents to the USB stick.
Installation
- Disconnect the WD My Cloud Home from the power supply.
- Insert the USB flash drive into the slot on the back.
- Using a paper clip or pin, press and hold the reset button in the small hole on the back (just above the USB port).
- Turn the power back on while continuing to hold the reset button.
- The WD will now boot and flash for about 20 seconds at first, then the light will stay on solid.
- Only now, i.e. when the light is permanently on, release the reset button.
- You should already hear some data being written to the HDD. This takes about 1–2 minutes.
- Check your router: the system should now have been assigned an IP address automatically. The network name also changes to
wdnas.
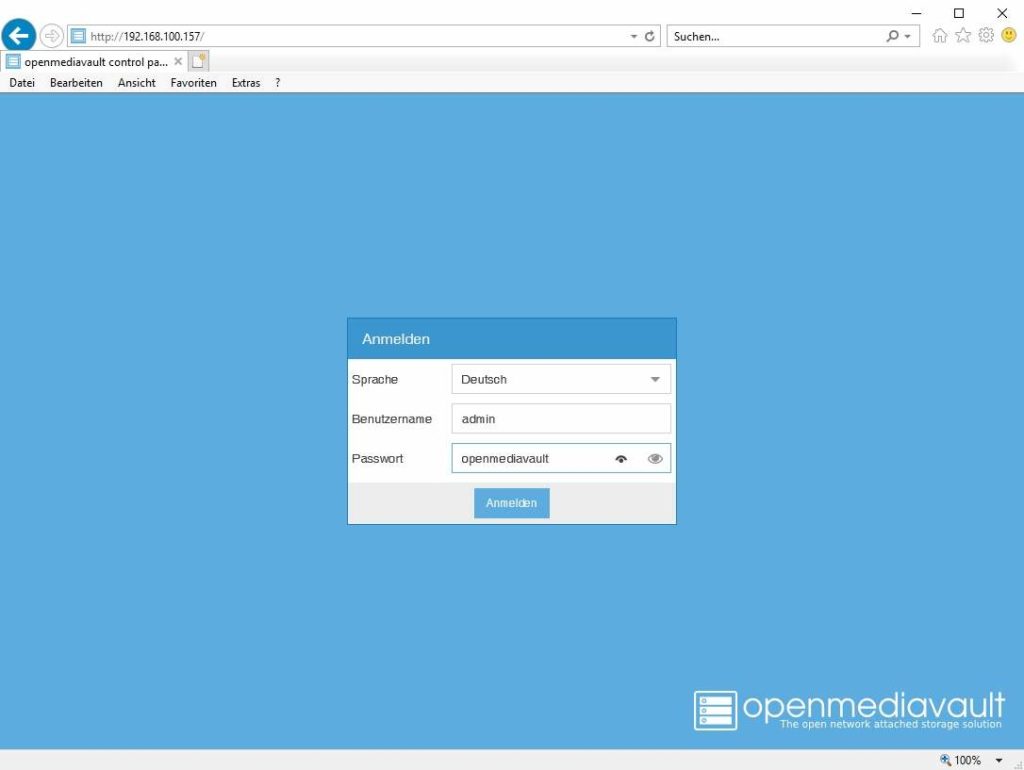
Under this IP address (a different one for you, of course) you can now open the OpenMediaVault configuration interface directly in your browser. The default credentials are User: admin / Password: admin. For SSH login use User: root / Password: root.